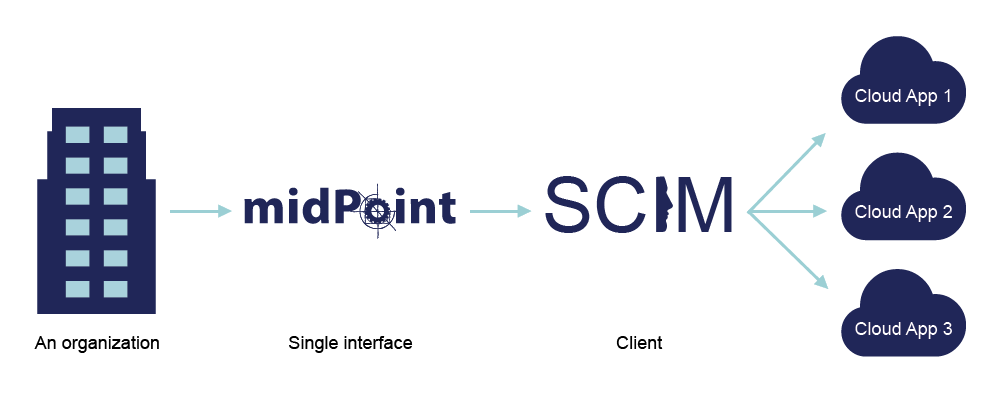
When implementing a connector for the Midpoint identity management solution, there is a potential to interconnect a broad spectrum of services. Using the System for Cross-domain Identity Management (SCIM) protocol seems as a road to take.
We are also working with the connId framework. It provides a means for building identity connectors in a more standardized way enabling the decoupling of this block of logic from the rest of the application.
This is our real life story to interconnect those worlds.
First step: Declaring the right schema
One of the essential features of ConnId framework is declaring a schema for the provided resource objects (connId object).This schema describes the types of resource objects and parameters of the object attributes and sub attributes. The schema also declares some of the operations which are enabled by the resource provider (set/update of passwords, activation/deactivation properties, special update procedures, etc …). The schema can be static or dynamically built depending on the interconnected system.
While interconnecting a system which provides only core resources (“Users”, “Groups”) and uses the core schema representation for them without any custom extensions and with no error or tweak in the properties of resource attributes the setup of the schema within the connector is quite easy. There would suffice a declaration of the schema already provided in the SCIM protocol documentation.
A different situation arises when the custom parts, resources and extensions come into the game. This calls for dynamic schema generation. For that we need some logic which would parse schema definition data and of course the data which should be parsed. The logic will be constructed by us but the other part has to be provided by the resource provider. Luckily the SCIM schema defines a special resource endpoint which should return exactly the data needed for this task.
The ideal case of an interconnected service is when all the recommended properties of a schema as defined in the SCIM 1.1 specification are implemented and all the rules are followed as they should. In other cases we can implement workaround methods to amend the flaws or hope that the service will work good enough with a basic core schema implementation. To this implementation our connector falls back if no schema definition is found from the side of the provider.
Naming schemas are a byproduct of our implementation. Our naming convention composes a name that identifies the attribute, its type and the corresponding sub attribute (e.q. emails.work.value, emails.work.primary). This names are then used for identification of concrete attributes and their sub attributes for communication from and to the service.
Password management story
The connector also supports password assignment and update as well as activation and deactivation of accounts. These attributes are injected into the generated schemas by default and might not be supported by the service providers. The password might stay assigned to the account and act basically as a password should, authenticate the user for use of the service. But the assignment may also bring up a password reset on the service where the newly assigned password has only the role of enabling the user to login just to choose a new password.
Query specification with filtering
To specify a query in SCIM filtering is used. This is another optional feature and our connector implements almost the full set of filters as declared in the SCIM specification. Some of the filters could not be implemented because of lacking filter visitor methods and some filters are yet to be tested on a SCIM resource supporting them. The filters which are not supported are:
Not equal “ne” operator
Present (has value) “pr”
Additionally a note on the connID “contains all values” filter. This filter was implemented to be processed into a series of contains filters joined by “AND” filters. This is to our best knowledge the logic which should be behind this filter method yet it was not successfully tested on any of the SCIM services on which we tested our connector.
The types of authentication
Not all services authenticate to their resources with the same method. We have chosen two methods which we encountered while working on the tested services.
Authentication method: password
First one is present in the Salesforce service. Salesforce has a couple of ways to authenticate a client application to interact with the service and we chose a password/ credentials authentication method.
To authenticate we use the HTTP post method to send an entity with the body content containing a URI snipped. The URI snipped contains the requested credentials (example 1). If the request was successful, the service provider returns a json object containing the access token (“access_token”) and instance url (“instance_url”). The OAuth2 access token is then inserted into an authorization header which we use for later communication and the instance url is the url address used for querying the resource endpoints.
The authorization header can be seen in the following code example (code example 3).
//example 1
client_id={clientID}&client_secret={clientSecret}&username={userName}&password={password}
//

//code example 3
authHeader = new BasicHeader("Authorization", "OAuth " + AccessToken);
//
Authentication method: token
The straight up token authentication is present in the Slack service. This is quite easier and it jumps over a couple of steps. The address for querying the endpoint and the authorization token is provided in the connector configuration. The connector similarly as in the first method inserts the token into an authorization header and the provided address is used for querying the service endpoints.
The authorization header can be seen in the following code example (code example 4).
code example 4
//example 1
client_id={clientID}&client_secret={clientSecret}&username={userName}&password={password}
//

//code example 3
authHeader = new BasicHeader("Authorization", "OAuth " + AccessToken);
//
In the next article we will talk about our next step: testing the result and what issues we experienced.